Renovating pool coping and decks
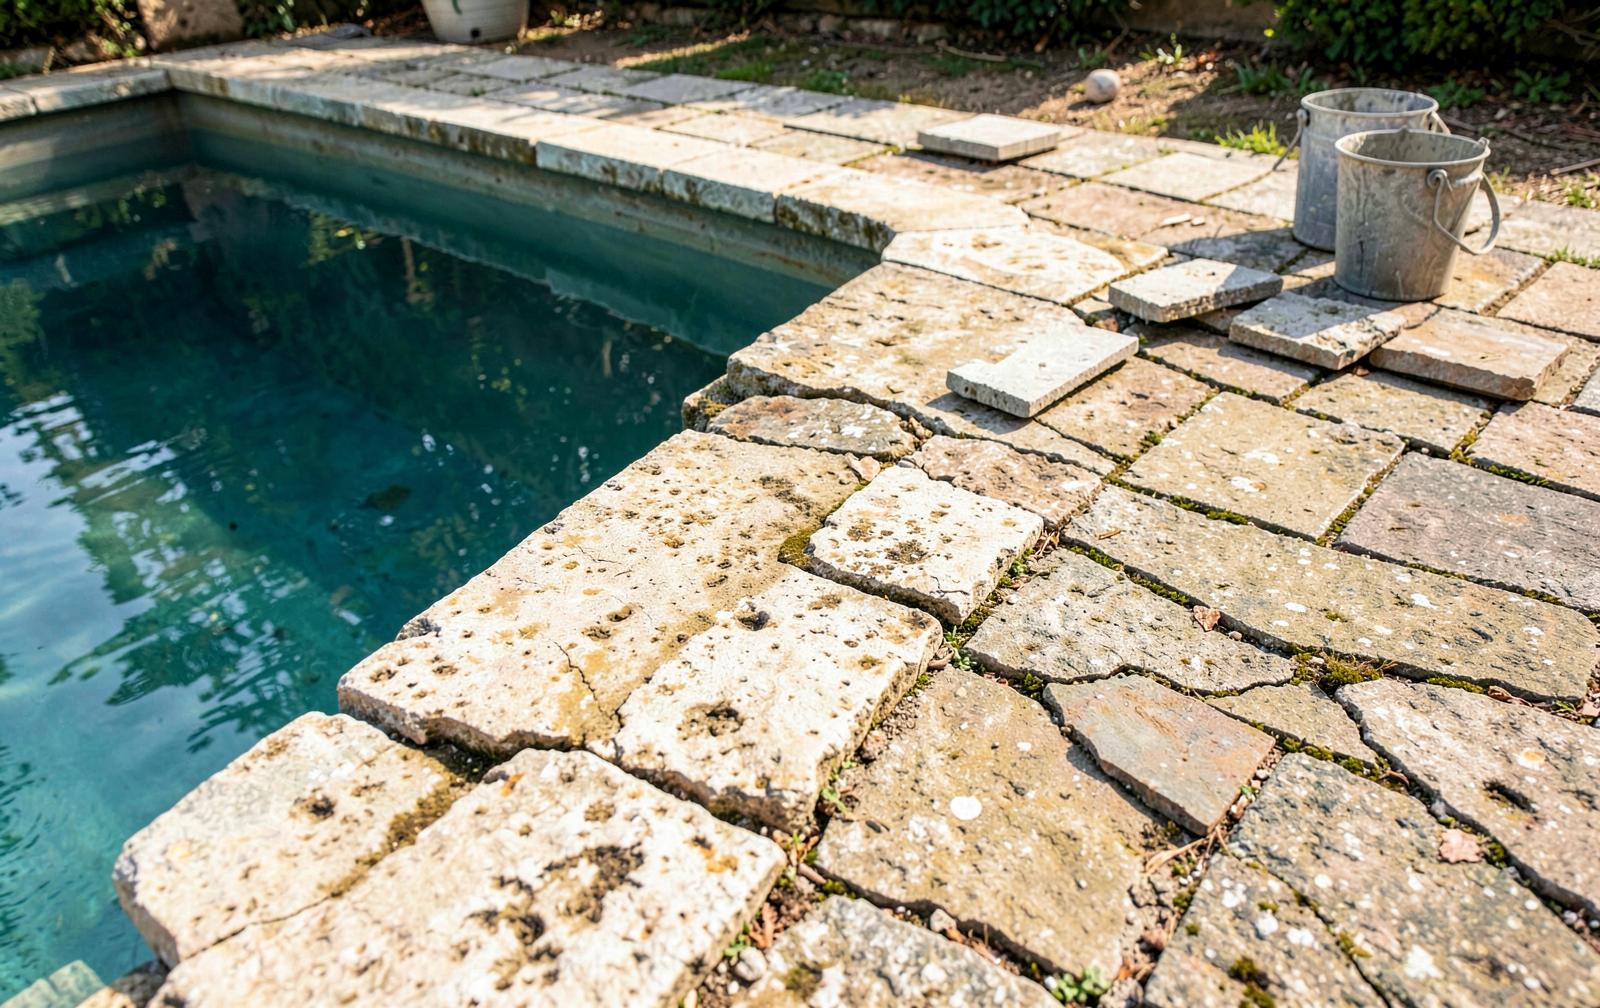
Cracked coping stones, a deck that lifts, joints that come apart: the pool surround is often the first place where age shows — and where people get hurt. Here is how to renovate coping and decks without turning your garden into an infinite construction site.
Why do coping stones move?
Coping stones are laid on pads or sealed to the pool beam. Over the years, three phenomena do their work:
- Heat / cold cycles that expand and contract materials — extreme in the Var in summer.
- Joints that erode and let water seep under the stones.
- Ground movements, especially on clay soils.
A coping stone that moves underfoot is an immediate danger for children and guests. It is also the gateway for water to the basin's structure.
Repair or redo everything?
Good news: we rarely redo everything. Three levels of intervention, from lightest to most complete:
1. Joint renewal and re-gluing of loose stones — a few hours of work, immediate effect. 2. Targeted replacement of broken or overly worn stones, finding a close matching shade. 3. Full renewal of the beam and deck when everything has moved — it's also a chance to change style.
The technical visit determines the necessary level, area by area. You only pay for what is useful.
What materials for the new coping stones?
- Natural stone (travertin, Southern stone): the quintessential Mediterranean look, stays cool in the sun.
- Reconstituted stone: the stone look with a controlled budget, very regular in installation.
- Composite wood: warm, splinter-free, ideal for decks.
- Porcelain stoneware: ultra-resistant, non-slip, almost maintenance-free.
The number one criterion around a pool: slip resistance when wet. We guide you towards suitable finishes, not just ones that look good in photos.
How does the site work?
A coping and deck project is lighter than a basin renovation:
1. Technical visit and identification of areas to treat. 2. Fixed quote item by item — written validation before any start. 3. Removal of damaged elements, preparation of supports. 4. Laying, jointing, and level adjustment for water drainage.
Count on two days to a week depending on the surface. And if the work is part of a broader basin restoration, everything is coordinated in a single plan: this is our pool renovation approach.
Frequent mistakes
- Re-gluing a stone without treating the cause: if the support has moved, it will move again.
- Choosing a stone that is too porous without protection: leaf and limescale stains become permanent.
- Neglecting the drainage slope: a flat deck turns every rain into puddles against the basin.
- Waiting until everything moves: treated early, the project remains small and light.
Free photo diagnosis
Cracked coping stones or a deck that moves? Send photos: we assess the scale before visiting.
3 minutes, no sign-up. You get an initial view and a clear recommendation — no strings attached.
Start my diagnosisFrequently asked questions
When is the best time to redo your coping stones?+
Autumn and winter, from October to March. The pool is not in use, the work bothers no one, and the mild Var temperatures are perfect for mortars and glues.
Can you replace just a few broken coping stones?+
Yes, it's actually the most common case. We find a stone close in color and format, and only replace what is necessary.
Which material slips the least when wet?+
Porcelain stoneware rated non-slip and brushed natural stone (like travertin) are the best choices around a basin. We avoid smooth and polished finishes.
Do you have to drain the pool to redo the coping stones?+
No, in the vast majority of cases the basin stays filled. Only the surround is affected. Swimming resumes as soon as the work is finished.
Also worth reading
Renovating a concrete pool: cracks, coating, liner
Cracks, peeling coating, water loss: how to give a concrete pool a second life, and choose between coating, liner, and reinforced PVC.
Read6 minRenovating a shell pool: osmosis, bleaching, cracks
Blisters, bleached gelcoat, cracks: in most cases, a shell can be renovated without replacement. Method, timelines, and best practices.
Read5 minWhy get your pool diagnosed?
A regular diagnostic is the best way to keep your pool in good health with no bad surprises.
Read